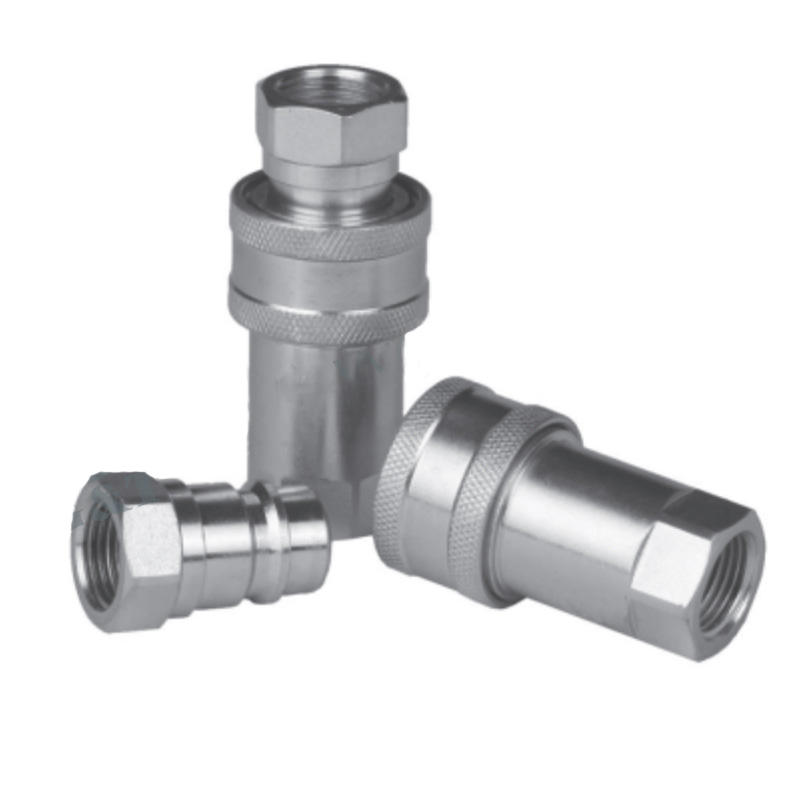
How to properly clean and flush hydraulic quick couplings to prevent contamination or debris accumulation?
Properly cleaning and flushing hydraulic quick couplings is essential to prevent contamination or debris accumulation, which can lead to system failures or reduced performance. Here's a step-by-step guide to help you:
Safety First: Make safety your top priority before starting any maintenance tasks. Begin by conducting a comprehensive risk assessment of the work area, identifying potential hazards associated with hydraulic systems such as high-pressure fluids, electrical components, and moving machinery. Implement appropriate safety measures, including lockout/tagout procedures, to isolate energy sources and prevent accidental startup or operation of equipment. Equip yourself and your team with the necessary personal protective equipment (PPE), including eye protection, gloves, and appropriate clothing, to minimize the risk of injury.
Flush with Clean Fluid: Select a suitable flushing fluid compatible with the hydraulic system's fluid specifications and operating conditions. Consider factors such as viscosity, temperature range, and compatibility with system materials when choosing a flushing fluid. Use dedicated flushing equipment, such as flushing rigs or circulation systems, to deliver the flushing fluid to the hydraulic quick couplings efficiently. Follow established procedures for flushing hydraulic lines, ensuring thorough coverage of all internal passages to dislodge and remove contaminants effectively.
Use a Cleaning Solution: In cases where flushing alone is insufficient to remove stubborn contaminants, employ a specialized cleaning solution recommended. Dilute the cleaning solution to the appropriate concentration and apply it judiciously to targeted areas using precision applicators or brushes. Allow the cleaning solution to dwell for the recommended contact time to maximize effectiveness in dissolving or loosening adhered contaminants. Rinse the couplings thoroughly with clean flushing fluid after cleaning to remove any residual cleaning solution and dissolved debris.
Inspect Seals and O-Rings: Take advantage of the opportunity presented by the disconnection of hydraulic quick couplings to conduct a thorough inspection of all sealing elements. Assess the condition of seals, O-rings, gaskets, and other elastomeric components for signs of damage, degradation, or deterioration. Utilize specialized inspection tools such as feeler gauges or durometers to measure seal dimensions and hardness accurately. Replace worn or damaged seals with genuine OEM replacements to maintain optimal sealing performance and prevent fluid leaks.
Clean External Surfaces: Pay meticulous attention to cleaning the external surfaces of hydraulic quick couplings to remove visible contaminants and maintain a pristine appearance. Use lint-free cloths or microfiber towels dampened with flushing fluid to wipe down all exterior surfaces thoroughly. Employ detailing brushes or cotton swabs to access recessed areas, threads, and intricate features where dirt or debris may accumulate. Inspect protective caps, plugs, or covers for signs of damage or degradation, replacing them as needed to safeguard against contamination ingress during storage or transport.
Test for Leakage: Conduct a rigorous leakage test following reconnection of hydraulic quick couplings to verify the integrity of the seals and connections. Apply hydraulic pressure gradually to the system while monitoring for any indications of fluid leakage around coupling joints or sealing interfaces. Utilize leak detection methods such as visual inspection, fluorescent dye testing, or ultrasonic inspection to identify even the smallest traces of leakage accurately. Address any identified leaks promptly by adjusting coupling positions, tightening connections, or replacing defective seals to prevent fluid loss and maintain system reliability.
Q/ZB275 Manual push and pull thread-locked hydraulic quick coupling
Contact Us